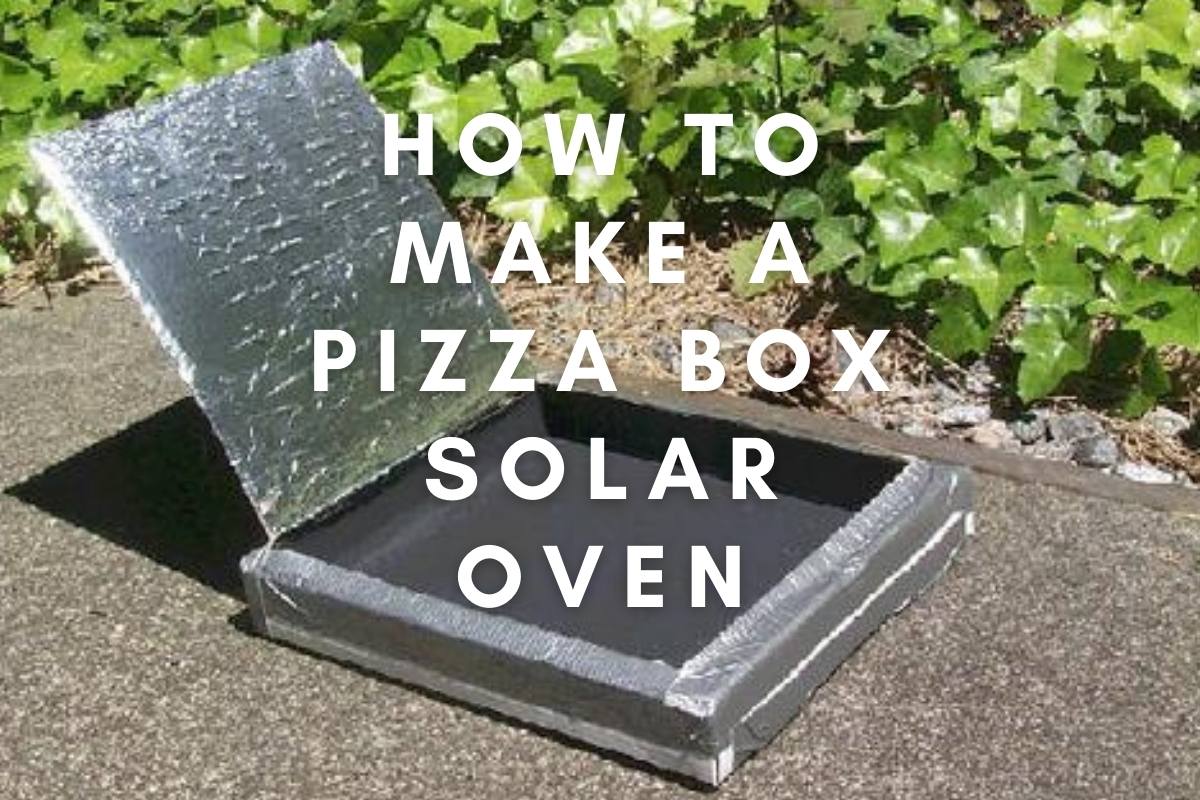
How to Make a Pizza Box Solar Oven?
When outdoor cooking comes to mind, most people think of grills or a campfire. Well, while those are popularly used for outdoor cooking, there’s also a less popular low-cost option – a pizza box solar oven. It’s very suitable for cooking outdoors on a very hot day. So if it’s a sunny afternoon and you want to cook these solar oven recipes for your kids, you should know how to make a pizza solar box oven.
In certain places, campfires are prohibited, and you won’t always have your grill with you. In situations like this, only ecologically friendly technology, such as a simple solar oven, is your go-to option. How does a solar oven work?
Before we go straight to the process of constructing makeshift solar ovens, which will also describe how the solar oven performs, there are certain things you’ll need to make it happen.
Materials Needed for Making Pizza Box Solar Ovens
If you want to make a pizza box solar oven to make a solar-powered treat for your kids, you should get different materials such as;
- An empty cardboard pizza box (this is the foundation)
- Aluminum foil (for cooking smores)
- Plastic wrap (works just like a greenhouse roof)
- Glass piece from a photo frame (optional)
- Graham crackers
- Ruler
- Black electrical tape/shipping tape
- Scissors or utility knife
- Gue
- Black construction paper
- Marshmallows
- Chocolate melting wafers
- Fairly warm outside temperatures or direct sunlight to provide solar power and heat your DIY solar cooker
Process of Making Pizza Box Solar Ovens
Follow the instructions below to make your solar cooker;
Phase 1: Cutting your Pizza Box’s Lid
- Take your knife and slowly carve out a square cut on the lid of your empty pizza box
- Ensure you cut the lid to within an inch of the edges of the lid
- Avoid cutting the hinged side of the pizza box
- Fold the cardboard flap backward
Phase 2: Cut the Aluminum Foil and Attach it to the Flap
- Use your knife to cut the foil so that it’s the same size as the flap of the pizza box
- Take your glue and apply it to the flap
- Then place the shiny side of the foil on the flap while making sure it’s smooth and flat
Phase 3: Place Another Piece of Aluminum Foil in the Pizza Box
- Cut another piece of foil to the same size as the first
- Place it at the base of the pizza box while ensuring the shiny side of the foil is facing upwards
- Cover the aluminum foil with black paper and secure it with glue. The black paper is going to serve as the solar oven’s heat sink
Phase 4: Stretching the Plastic Wrap
- Get your plastic wrap and spread it across the open space on your solar cooker or the lid’s opening
- Use your tape to secure the wrap on the sides of the box. Ensure the plastic wrap completely seals the opening on your DIY solar oven. The plastic-covered opening is essential for retaining heat energy
Phase 5: Decide on What to Cook in the Solar Oven

- At this stage, your pizza box is almost ready to cook. You should decide what you’re cooking, whether s’mores, a marshmallow, or a small piece of chocolate between the graham cracker halves or muffin pizzas.
- Whatever you’re cooking, place it on a small tray made of foil and put it on top of the black paper.
- Shut the solar oven’s lid, but first, check that the plastic wrap is secure and the tabs of the pizza box are tucked in properly.
Phase 6: Prop the Oven
- Use the ruler (preferably 12 inches) to keep the reflector flap of your oven open.
- The reflected sunlight on the aluminum foil, black paper, and plastic wrap will easily heat and cook your tasty treat on a hot sunny day.
Phase 7: Check your Meal
- It can be tempting to open the solar oven while your food is cooking, but this will just ensure heat escapes each time you open the pizza box. This can significantly affect the cooking duration.
- To prevent this, monitor your food through plastic wrap.
- Open your pizza box oven and enjoy eating when your food is cooked. Works just like a real oven.