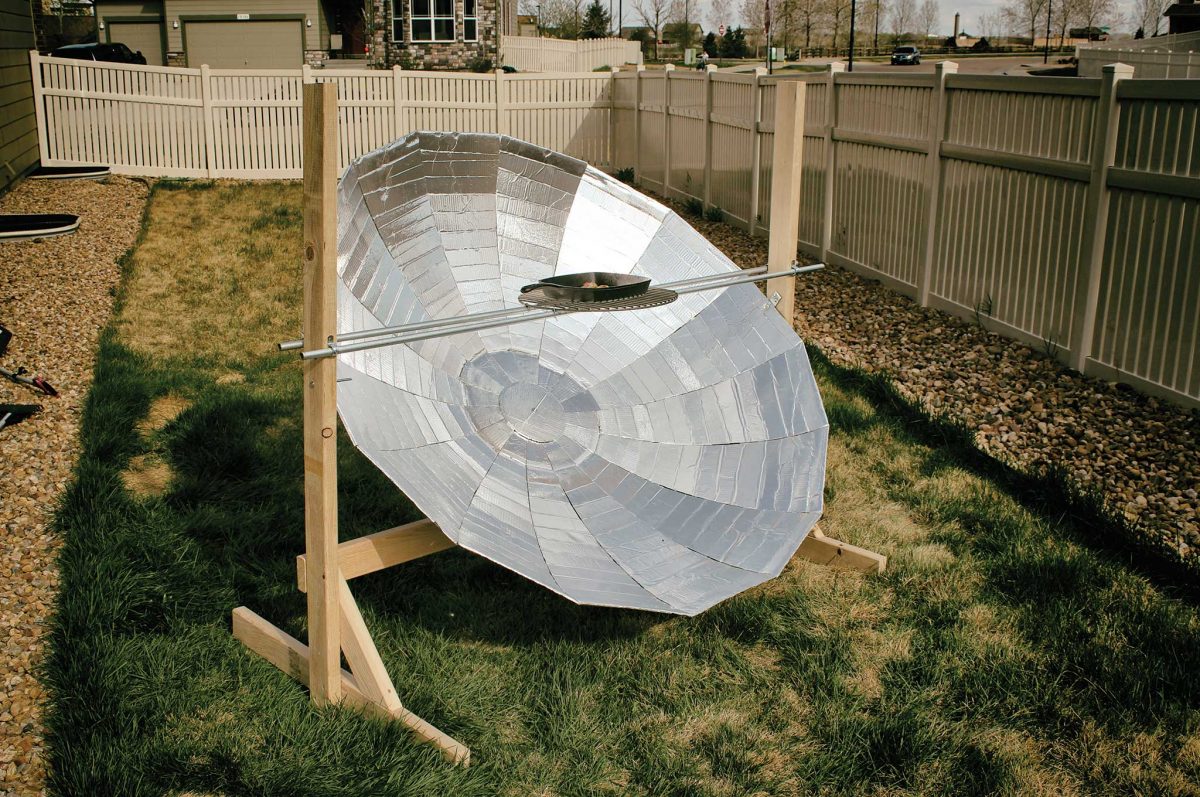
Building Your Own Parabolic Solar Burner
When most people see a solar burner for the first time, they get intimidated by its structure and design because it looks complicated to assemble. The truth is assembling a solar cooker is as easy as building a beginner Lego set! You just have to follow the instruction manual or look up videos online to guide you. Here are steps in building your own solar cooker:
- Lay out all the materials included in your solar kit. For safety reasons, make sure that there no kids running around while assembling the solar cooker.
- Start by assembling the stand of the solar cooker.
- Place the panels upside down.
- Using the tools included in the solar cooker kit, attach these panels together. Usually, there are six panels in a solar kit.
- Attach the brackets and shorter bolts on the third hole from the center of the solar panels.
- Next, slip the ring on the brackets then secure it using the longer bolts.
- Get the castor wheels and attach these to the stand.
- Take the cross-like rod of the solar burner then insert it slantly on the hole found in the middle of the attached solar panels.
- Insert the arms of the cross-like rod on the two holes of the brackets.
- Lift up your solar cooker then place it on top of the stand.
- Mount the remaining bracket on the stand and the head of the solar cooker. Adjust the bracket to the angle that you like most.
- Secure the rods by inserting longer bolts on the holes and make the necessary adjustments.
- Insert the remaining stand at the center front. Now, secure it with bolts.
- Lastly, attach the pot receptacles. Congratulations on building your own solar cooker!